If you are wondering how to DIY a hot tub cover, this guide is for you. If you have a hot tub, you must own a hot tub cover. It is mainly to avoid contamination of the hot tub, ensure water quality, and retain heat when unused. Learning how to DIY a hot tub cover will help save money and allow you to customize it to suit your taste. This guide takes you through the essential materials to DIY hot tub cover and all the detailed steps.
Materials Needed for a DIY Hot Tub Cover
To DIY your hot tub cover, you need the following materials.
Plywood or hot tub cover foam inserts (for insulation)
Vinyl fabric or waterproof tarp (outer covering)
Weather-resistant adhesive or glue
Measuring tape
Utility knife
Heavy-duty sewing kit (optional if sewing vinyl)
Handles and straps for securing the cover
Insulation tape or spray foam (for additional sealing)
Step-by-Step Guide to Making a Hot Tub Cover
Step 1 – Measure Your Hot Tub
The first step is to measure your hot tub. Measure the inside and the outside of your hot tub shell. Your DIY hot tub cover should be big enough to fit snugly on the spa rim so it doesn’t fall in if bumped. Most of the time, both the wood and the foam should not be more than that of the outer edge of the spa so that the foam can rest above. However, for a tighter seal, you can cut the foam slightly smaller to fit inside the spa while the wood extends over the edge.
Step 2 – Cut the Insulation Layer
If you have a square hot tub, you’ll have to cut less plywood and foam. Maybe you won’t have to cut it all. If you have a tub with rounded corners, break out the jig saw so you can cut the radius curve in the plywood to create the base layer. Cut the foam with a very sharp knife from the kitchen or a hacksaw blade. Lay both pieces one on top of the other to do away with any rough edges and to ensure they match the size of the hot tub.
Step 3 – Assemble and Seal the Insulation
You must attach multiple layers of foam and plywood to enhance insulation. Try to pack the foam as tightly as possible in order to prevent moisture from ever coming into contact with the foam board. Join the layers with very heavy-duty glue or screws. Make sure to cover every area well with concentration paid to the edges. Press the wrapped foam board firmly onto the wood. Then, flip it over so the foam side faces the ground, and place some heavy objects on top of the wood to ensure strong adhesion.
Step 4 – Cover with Waterproof Material
Wrap the entire insulation layer with vinyl fabric or a waterproof tarp. Secure it with glue, staples, or a sewing kit for a snug fit. Ensure the edges are tightly sealed to prevent water penetration.
Step 5 – Add Handles and Fastening Straps
Attach handles to make lifting the cover easier. Install straps or clips to keep the cover secure in windy conditions. Position these components strategically for convenience and effectiveness.
Step 6 – Ensure Proper Fit and Finish
Place the cover on your hot tub to test the fit. Seal the edges with insulation tape or spray foam to eliminate any air or moisture gaps and improve heat retention. Adjust as required to get a perfect fit.
Tips for Customizing Your Hot Tub Cover
If you want to make the most of your DIY spa cover, here are the essential tips to follow.
If you want better heat retention, use a reflective material. This will prevent heat from escaping, allowing you to enjoy spa sessions during winter.
You may choose colors or patterns for the hot tub’s outer layer to match your outdoor décor. This will instantly improve your house’s curb appeal.
Include a centre hinge or fold for easy handling and storage of the DIY hot tub cover.
Maintenance Tips for a DIY Hot Tub Cover
Here are the important maintenance tips you must follow to increase your hot tub cover’s longevity.
You must regularly inspect for wear and tear, especially on waterproof seams and insulation. Over time, vinyl can tear, or seams can open. If water or steam from your hot tub finds its way out, you will notice quickly that your cover will become very heavy. You must inspect your tub cover thoroughly to ensure it’s properly sealed. Duct tape is used to repair seams and patches temporarily.
You must clean your tub cover’s outer layer regularly to prevent mould or mildew buildup. Wash your tub cover well, wipe it down gently with a cleansing agent, and rinse clean with a non-abrasive sponge. You should never use laundry detergent, abrasives or harsh cleaners because they will remove some of the top coats from the cover.
If you are tucking away the tub cover, store it properly to avoid wear and tear and increase its timeframe.
Conclusion
Learning how to DIY a hot tub cover is fun and relatively straightforward. It is a rewarding project that combines functionality and creativity. Following this guide, you can design a custom cover that fits your hot tub perfectly while saving money compared to store-bought options. With effort and a personal touch, you’ll have a durable, stylish, and efficient cover that protects your hot tub for years.
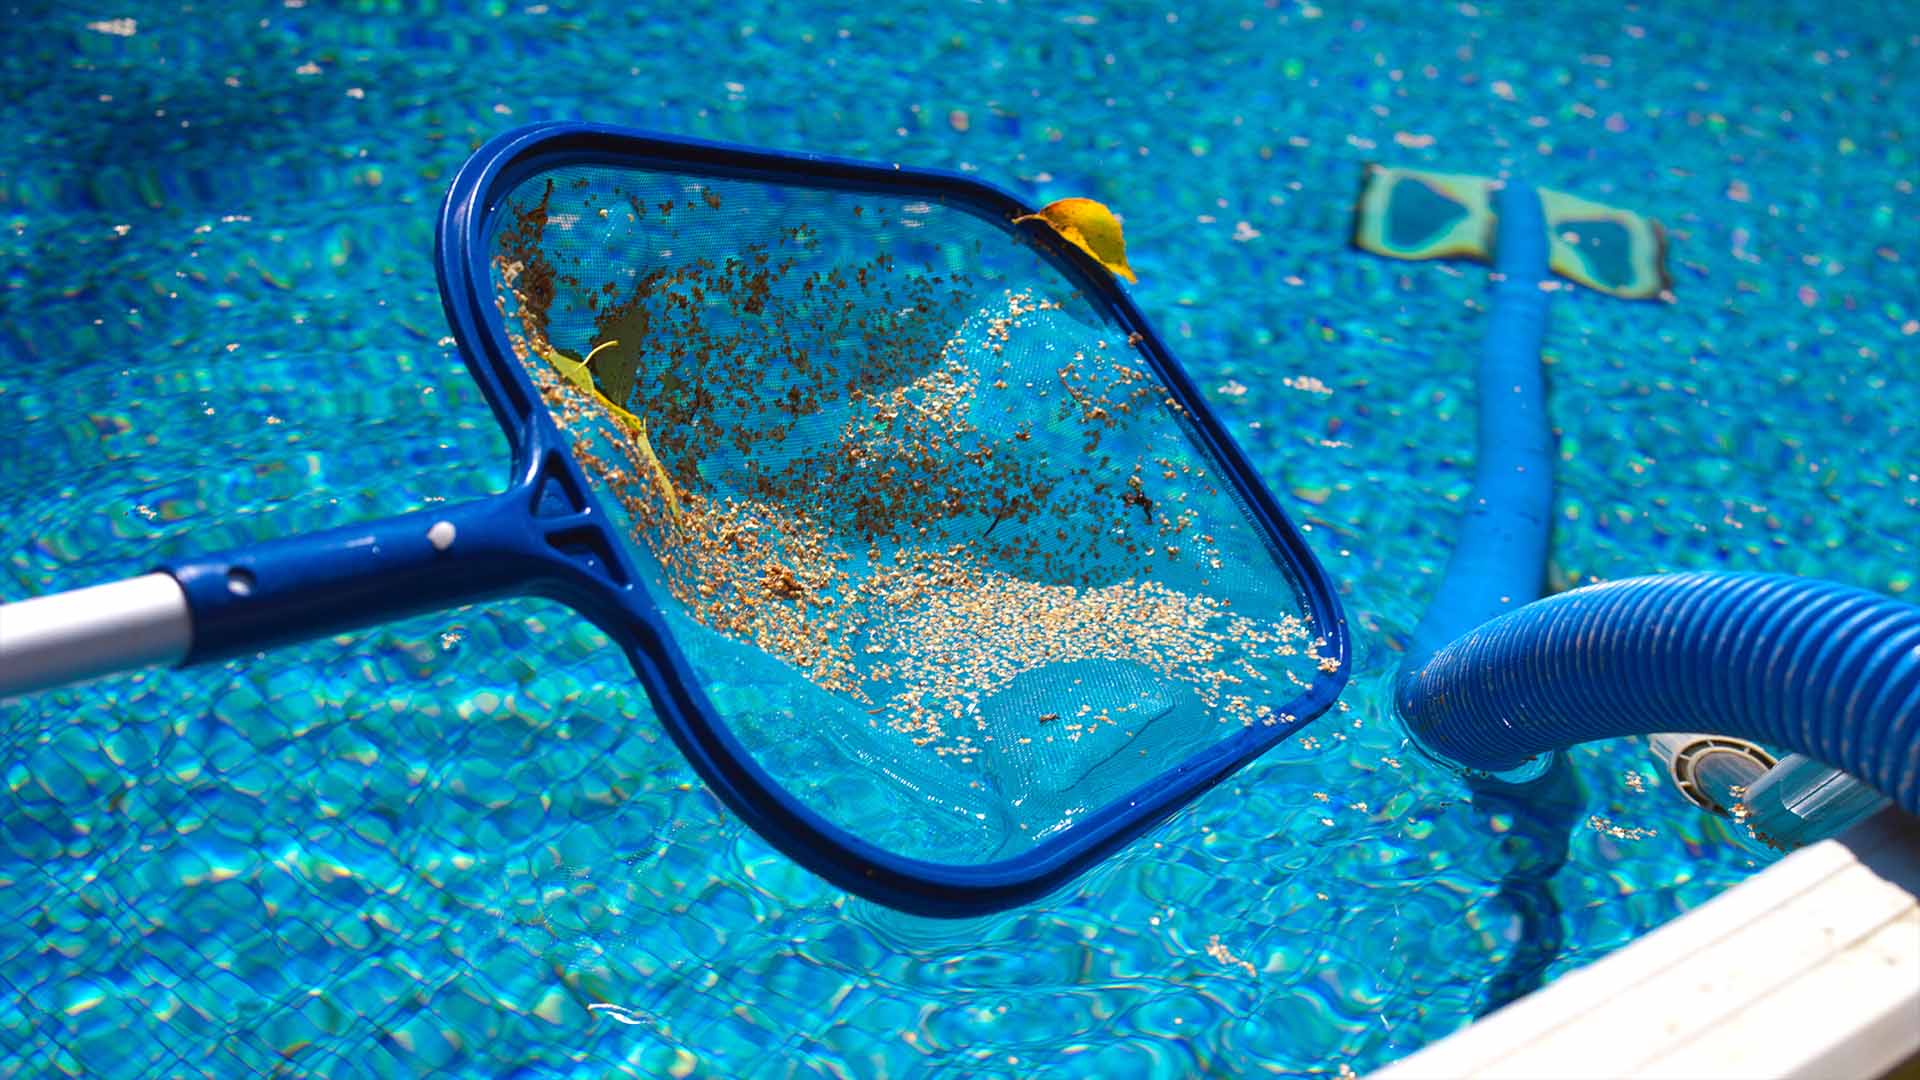
Hard water havoc! Mineral buildup from hard water doesn’t just clog pool filters and pipes, slashing vital water circulation and filtration efficiency. It can also
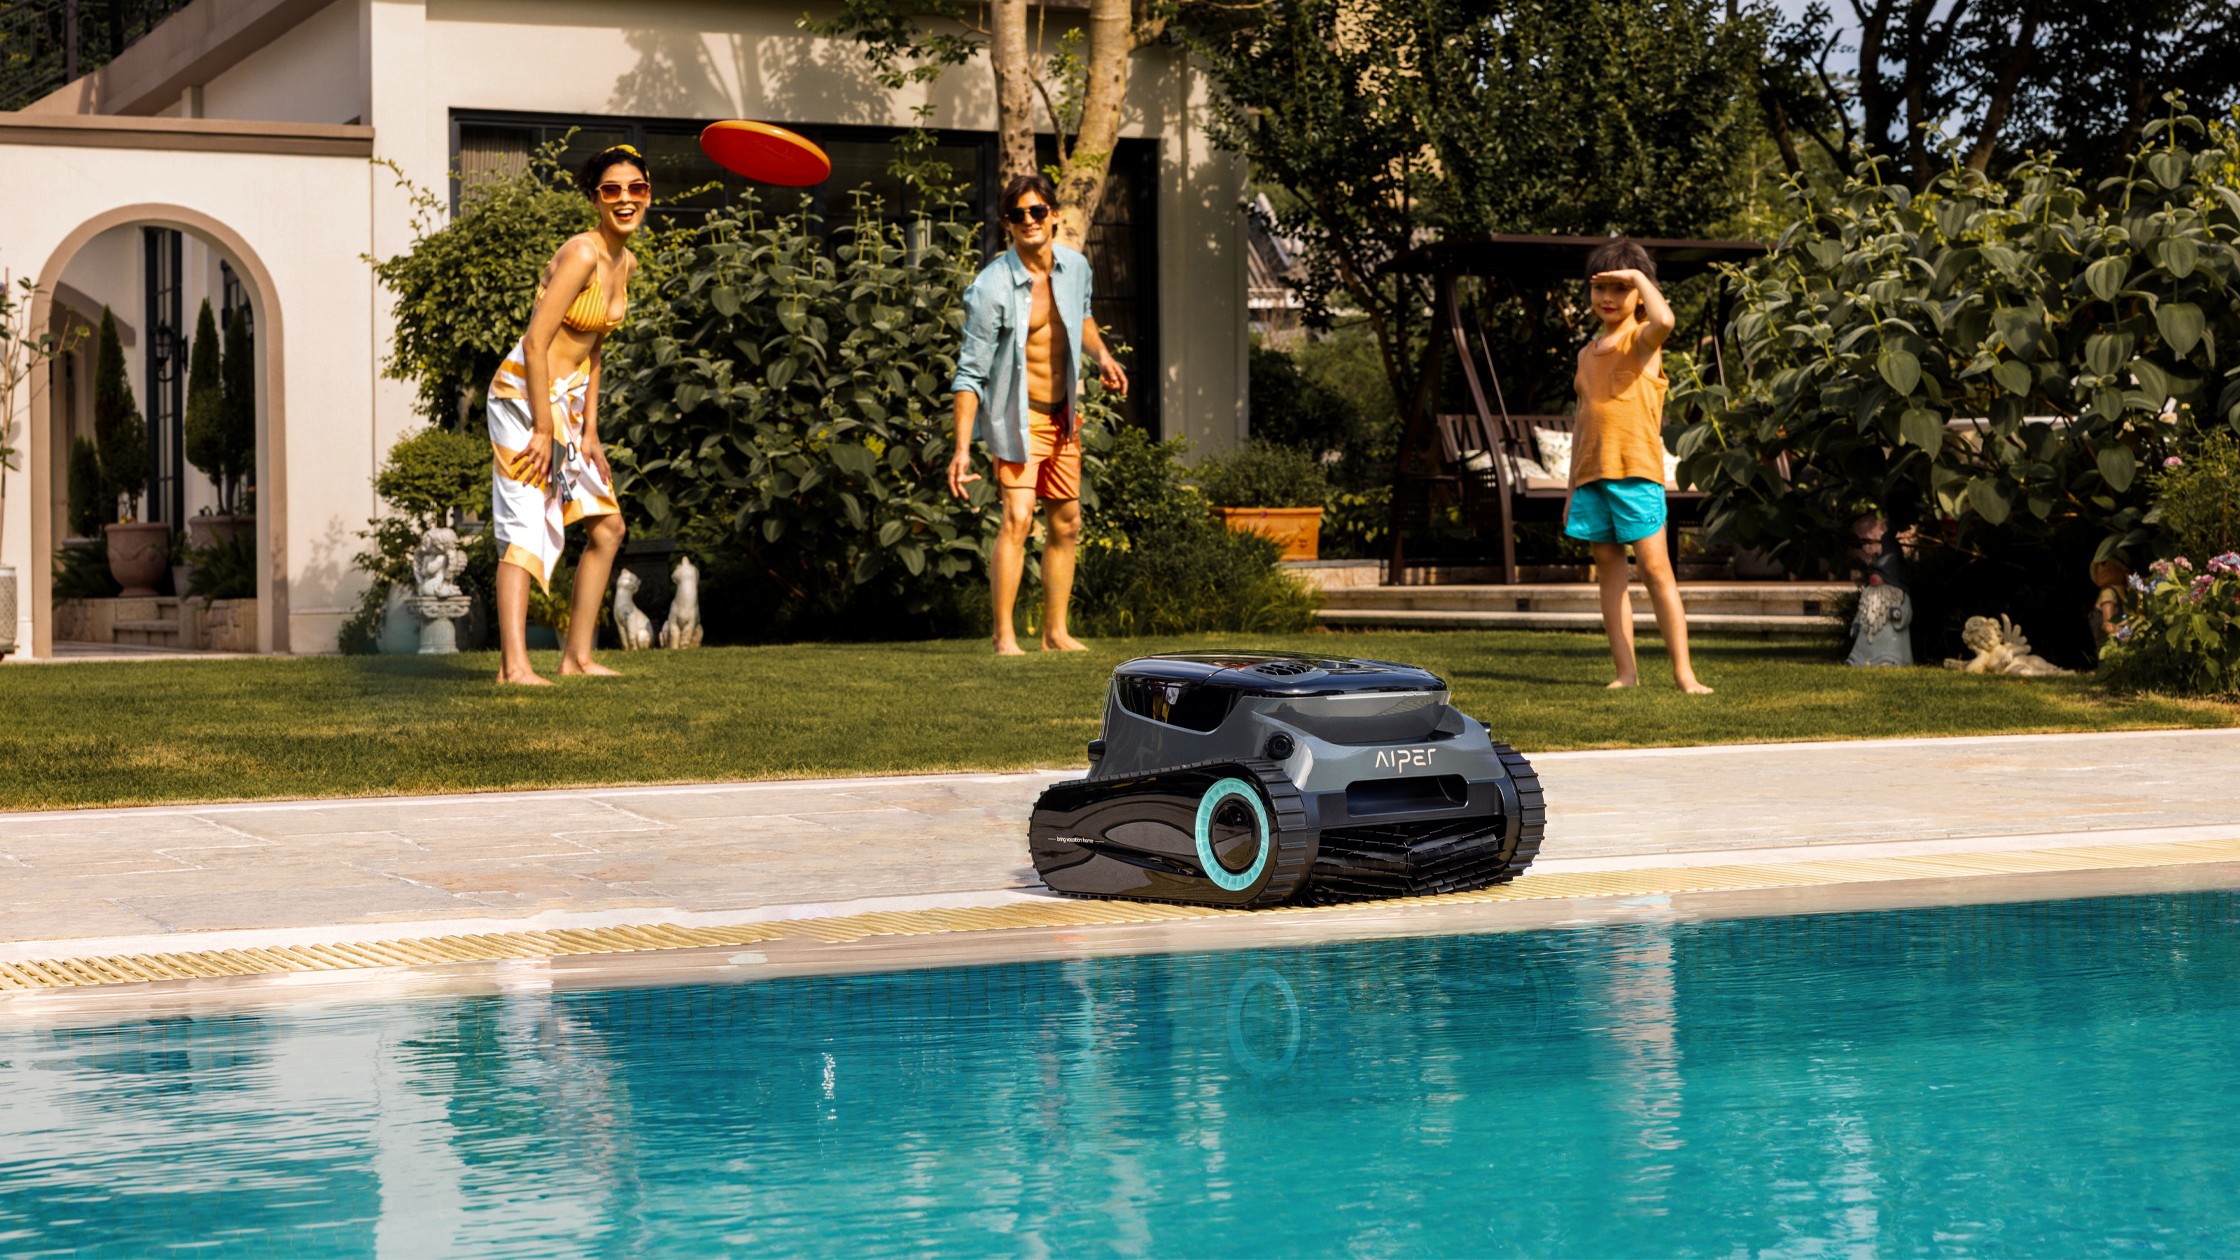
Maintaining a sparkling-clean pool shouldn’t feel like a part-time job. At Aiper, we design robotic pool cleaners that blend cutting-edge technology with effortless usability—and our
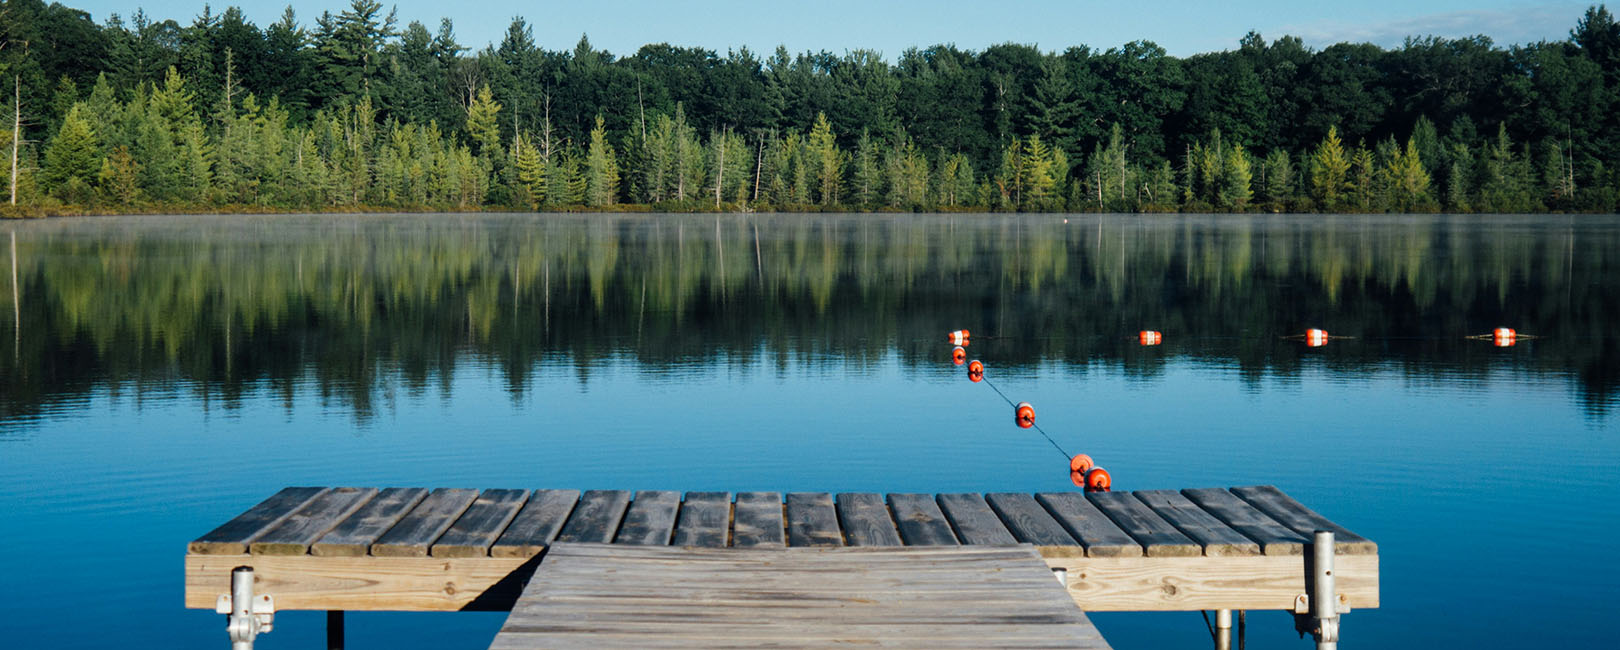
Envision warm summer afternoons; you’re standing by the peaceful edge of a lake. It is like water sparkling under flaming sunshine; there could be nothing
Yellow specks everywhere? That’s right – pollen season can start as early as February and continue through May. When this stubborn pollen settles in your