
How to Lower Water Hardness in Pool
Hard water havoc! Mineral buildup from hard water doesn’t just clog pool filters and pipes, slashing vital water circulation and filtration efficiency. It can also

Owning a swimming pool is a marvelous experience. However, it also brings some responsibilities, one of which is the periodic testing of the pool water to maintain the water chemistry and ensure swimming pool safety with your family. It will be a time-consuming process, but if you know the correct procedure and diligently adhere to the instructions here, you will not have to waste hours trying to determine the whole procedure. So, please read this article and save time and effort to learn how to test pool water accurately and maintain water chemistry for your pool.
In this blog, you will see:
Therefore, it is crucial that you test the pool water, but lacking this information may result in negative results.
People associate unbalanced pool water with various reasons for experiencing after-swim skin irritations and other diseases. It also causes algae development in the pool, and one picture that would come from an awful, bacteria-filled pool is not the best.
Unbalanced pool water can also damage your pool equipment; I will not say it would not cost much for its maintenance. Therefore, be proactive enough to prevent possible problems associated with your swimming pool.
A well-balanced pool where you take care of balance gives you the best swimming experience all season. Swimming comfort improves while you avoid skin problems related to poor water quality in the pool. Balanced water chemistry also helps increase your pool’s lifespan while keeping all equipment working without frequently requiring maintenance.

The pool water quality mainly depends on pH levels, alkalinity, calcium hardness, and chlorine concentration. These parameters must be maintained within the optimal range to obtain the proper water chemistry. All these chemicals defend the pool water against algae, bacteria, and other contaminants. They use water treatment, which goes beyond the ability of pool water filters.
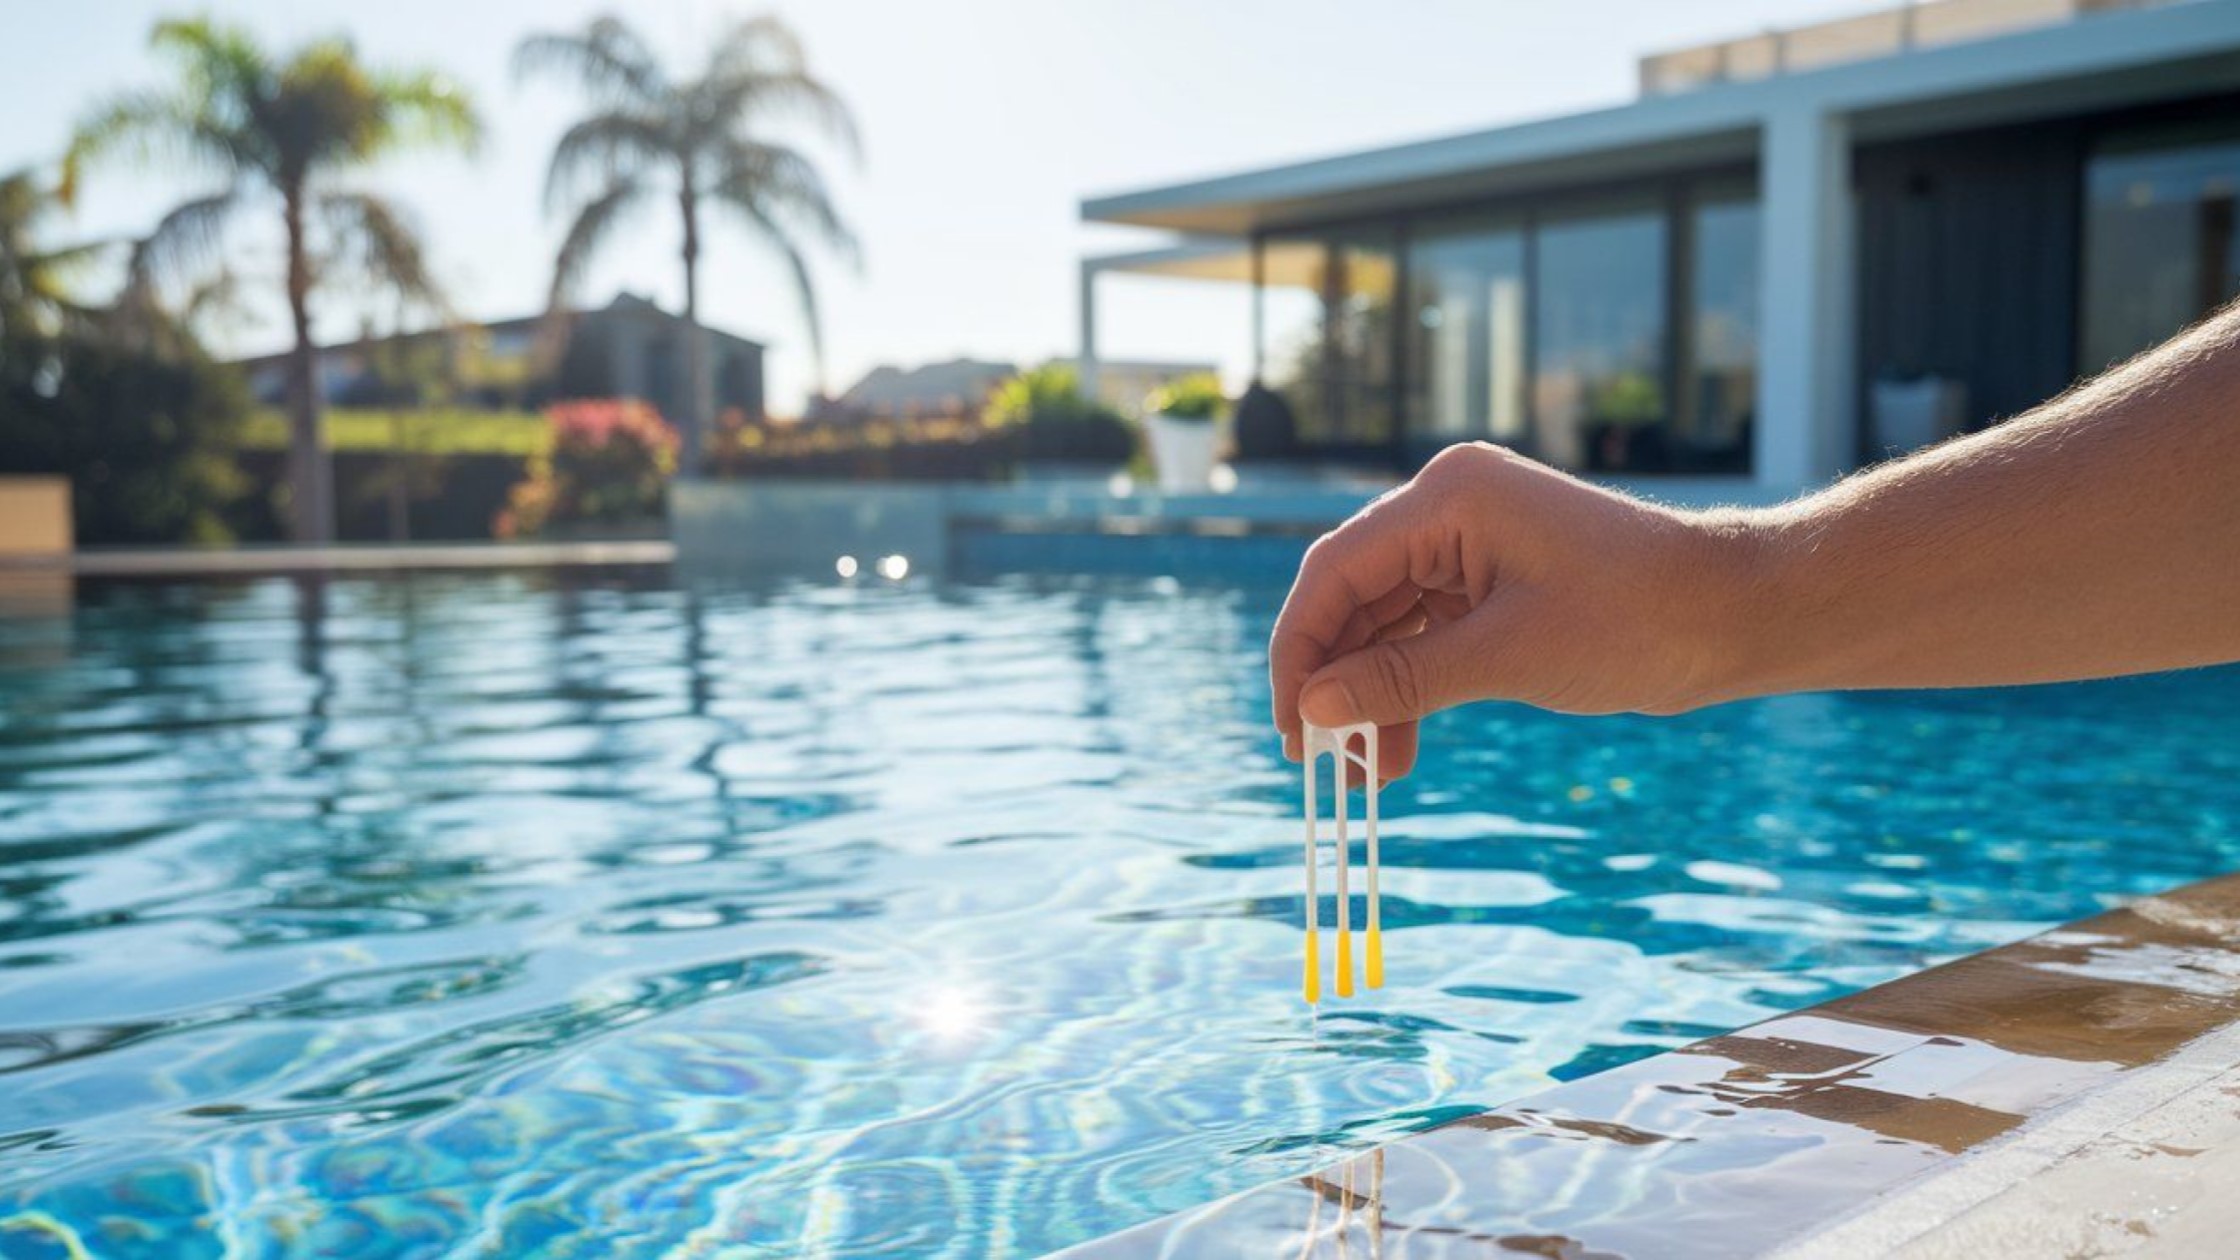
The following is a step-by-step guide on how to test pool water like a pro:
Before you begin testing, make sure you have all the necessary tools:
Ideal pH range: 7.2–7.8 (a pH below 7.2 is acidic, and above 7.8 is too alkaline)
Ideal chlorine level: 1.0–3.0 ppm (parts per million)
Ideal alkalinity range: 80–120 ppm
Ideal calcium hardness: 200–400 ppm
Ideal stabilizer level: 30–50 ppm
Keep a record of the test results so you can track trends over time. This will help you manage your pool chemistry and make adjustments as needed.
After testing the water, use the appropriate chemicals to adjust the levels if needed:
After making adjustments, retest your pool water to ensure the chemical balance is correct. Continue to monitor your pool’s chemistry regularly (at least once a week) to keep the water safe and clear.
The frequency of testing depends on how often you use the pool and the season. During peak times, test the water every two weeks. This is important because regular use can change the water balance. You should also test once a week during off-season periods when it’s not in use.
Other factors, such as rain, high temperatures, and adverse weather conditions, contribute to the imbalance in water chemistry. For instance, rain adds more water to the pool, diluting it and causing the levels of chemicals to drop below the optimum. High temperatures increase the speed of chemical reactions, hence causing a higher chlorine consumption.

Adding more chemicals to shock the pool water raises the chemical levels. You should retest the water after 24 hours.
Testing pool water accurately is important for keeping the right chemical balance. However, errors or problems can happen during testing. Here’s how to address common problems:
Regularly maintaining your testing tools and sampling carefully will help you get accurate readings. This will keep your pool water balanced and safe for swimming.
Pool water testing is more accessible if you do it correctly. We must ensure that we use proper test kits and chemicals within the correct ranges.
Refrain from committing the above mistakes and collect the samples from the proper place to get your results right. Take charge of your swimming pool maintenance. Learn about the whole process, from testing to keeping the water balanced. Finally, you can spend your swim season with your family without finding any other excuses.
Hard water havoc! Mineral buildup from hard water doesn’t just clog pool filters and pipes, slashing vital water circulation and filtration efficiency. It can also
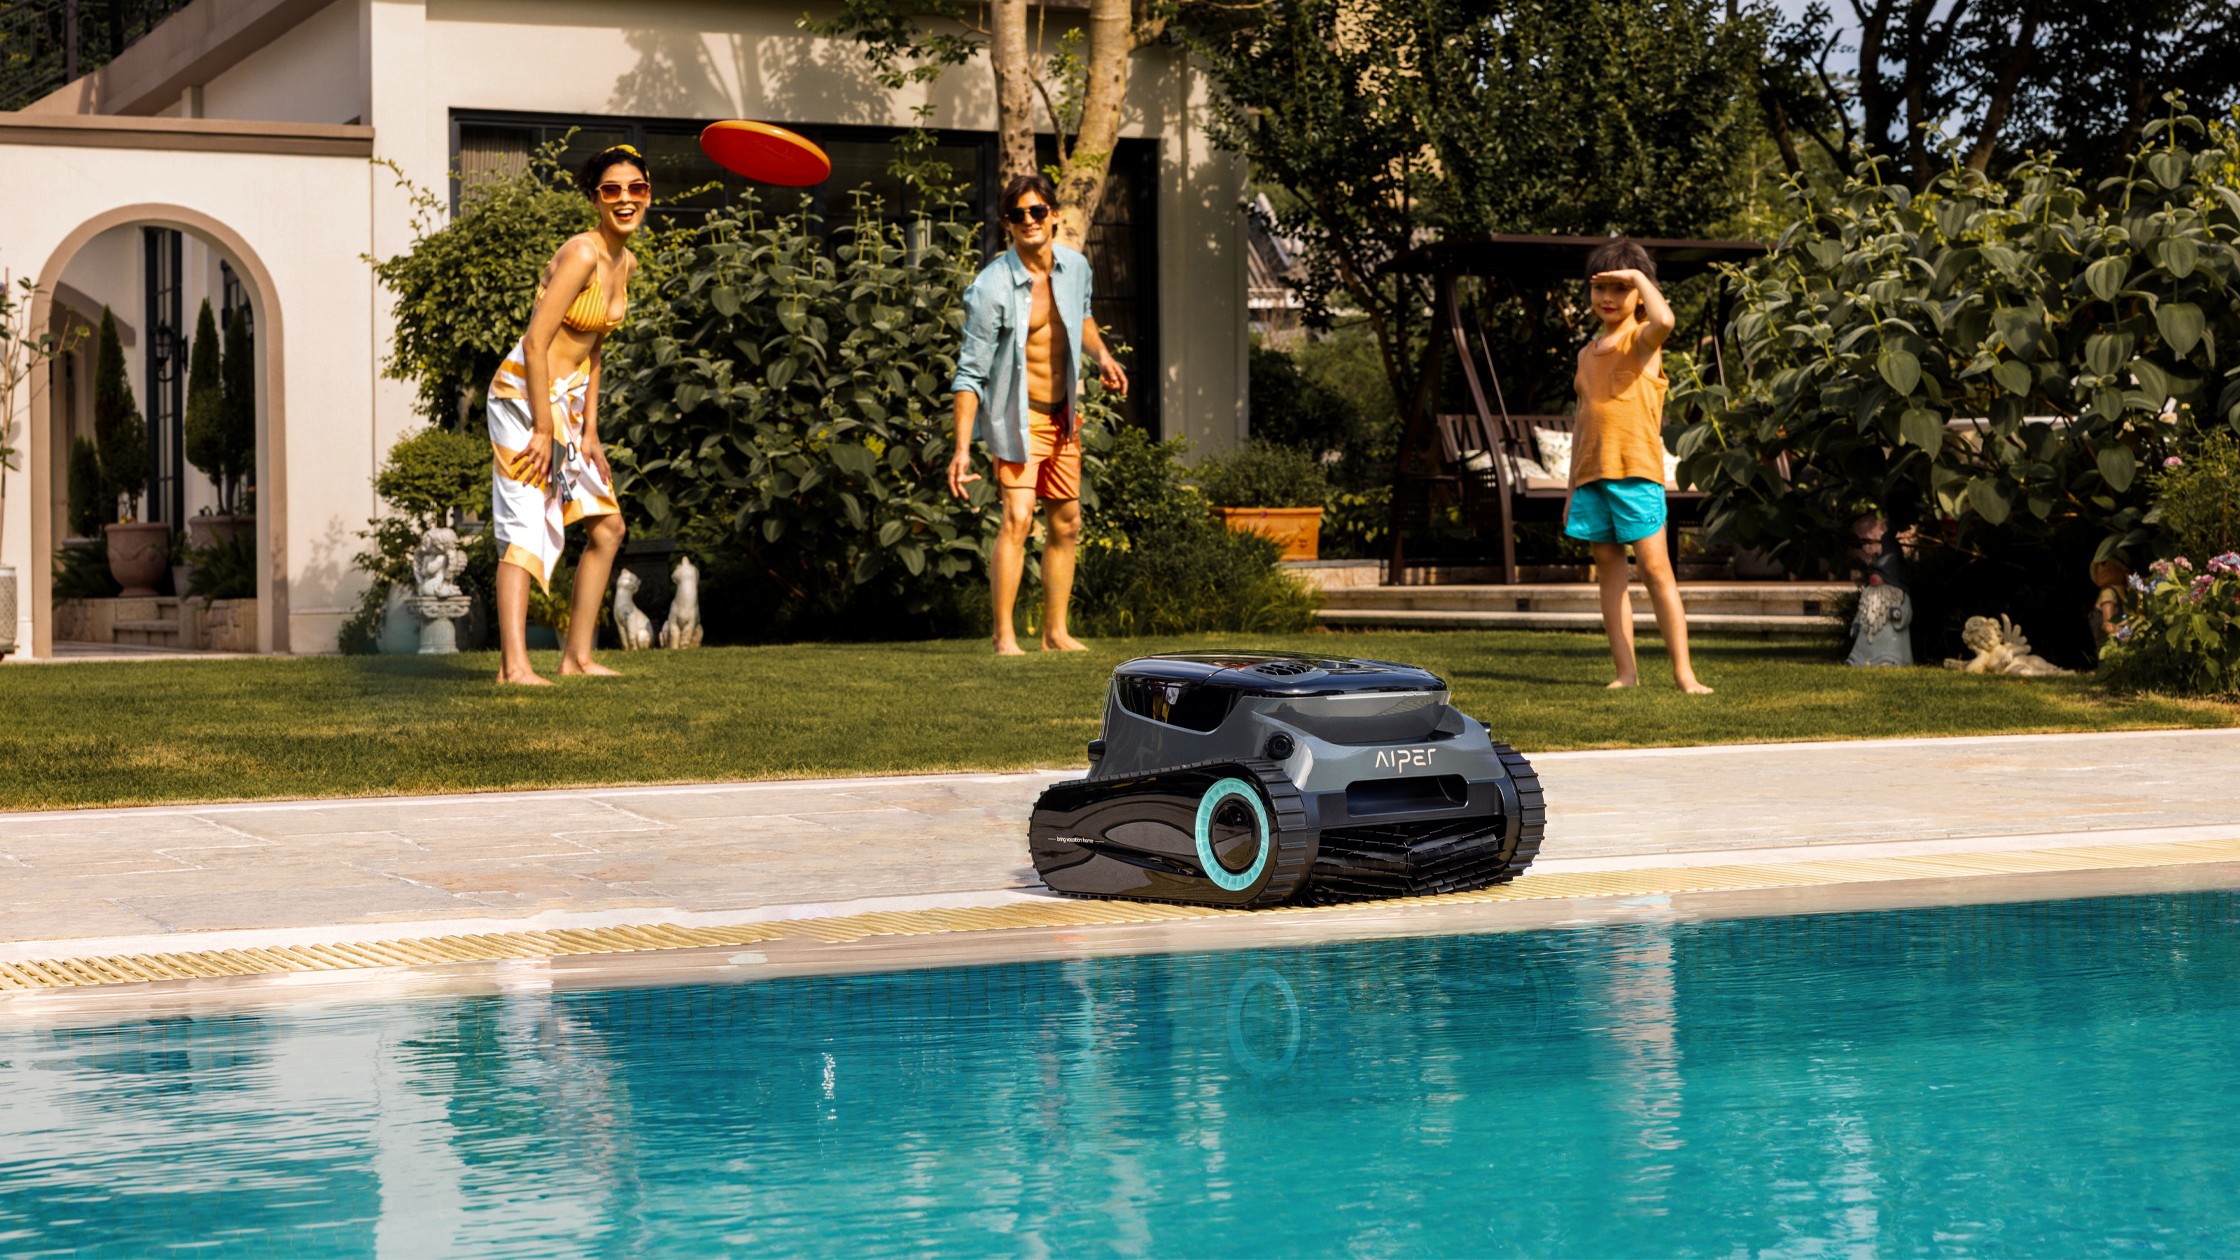
Maintaining a sparkling-clean pool shouldn’t feel like a part-time job. At Aiper, we design robotic pool cleaners that blend cutting-edge technology with effortless usability—and our

Have you ever pondered whether pool water (salt or chlorine) could be detrimental to your backyard grass around the pool? Most pool owners have raised
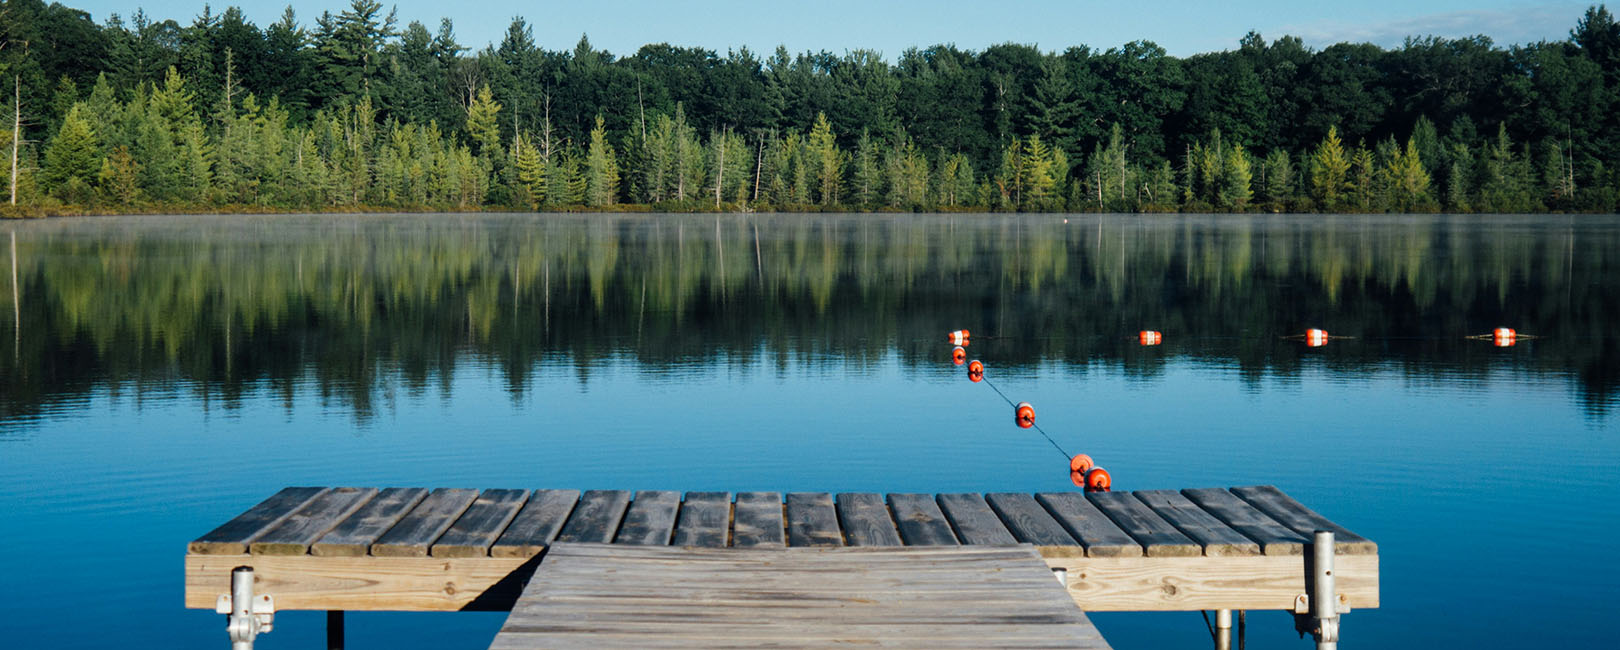
Envision warm summer afternoons; you’re standing by the peaceful edge of a lake. It is like water sparkling under flaming sunshine; there could be nothing
Yellow specks everywhere? That’s right – pollen season can start as early as February and continue through May. When this stubborn pollen settles in your