
How to Lower Water Hardness in Pool
Hard water havoc! Mineral buildup from hard water doesn’t just clog pool filters and pipes, slashing vital water circulation and filtration efficiency. It can also

The pool you have at home is traditionally a chlorine pool. You may wish to convert the pool from chlorine to saltwater as saltwater pools are much gentler on the skin and clothes. So if you wonder how to change a chlorine pool to a saltwater pool, this guide is for you.
Before deciding to convert a chlorine pool to a saltwater pool, you must understand how a saltwater pool works. In simple words, a saltwater pool works by turning salt into chlorine. Contrary to popular belief, saltwater pools do contain chlorine, but the way it is added to the pool differs from chlorine pools.
Also, saltwater pools don’t feel like ocean water. Saltwater pools use a salt-chlorine generator to convert dissolved salt into chlorine. The titanium cells within the generator undergo electrolysis to separate the salt and water molecules and create a pure form of chlorine. The chlorine then cleans, sanitizes, and disinfects the pool water. This process happens continuously, keeping your pool clean and pristine.
Once you have an idea of what saltwater pools are, you probably ask yourself how to make a saltwater pool at home. The following step-by-step guide provides detailed instructions for converting your chlorine pool to a saltwater pool, so follow each step closely.
The necessary tools are essential to convert your pool to a saltwater pool. You will need the following items:
Ensure that you first balance your pool water chemistry before installing the saltwater system:
Use the following tools to install the salt-chlorine generator:
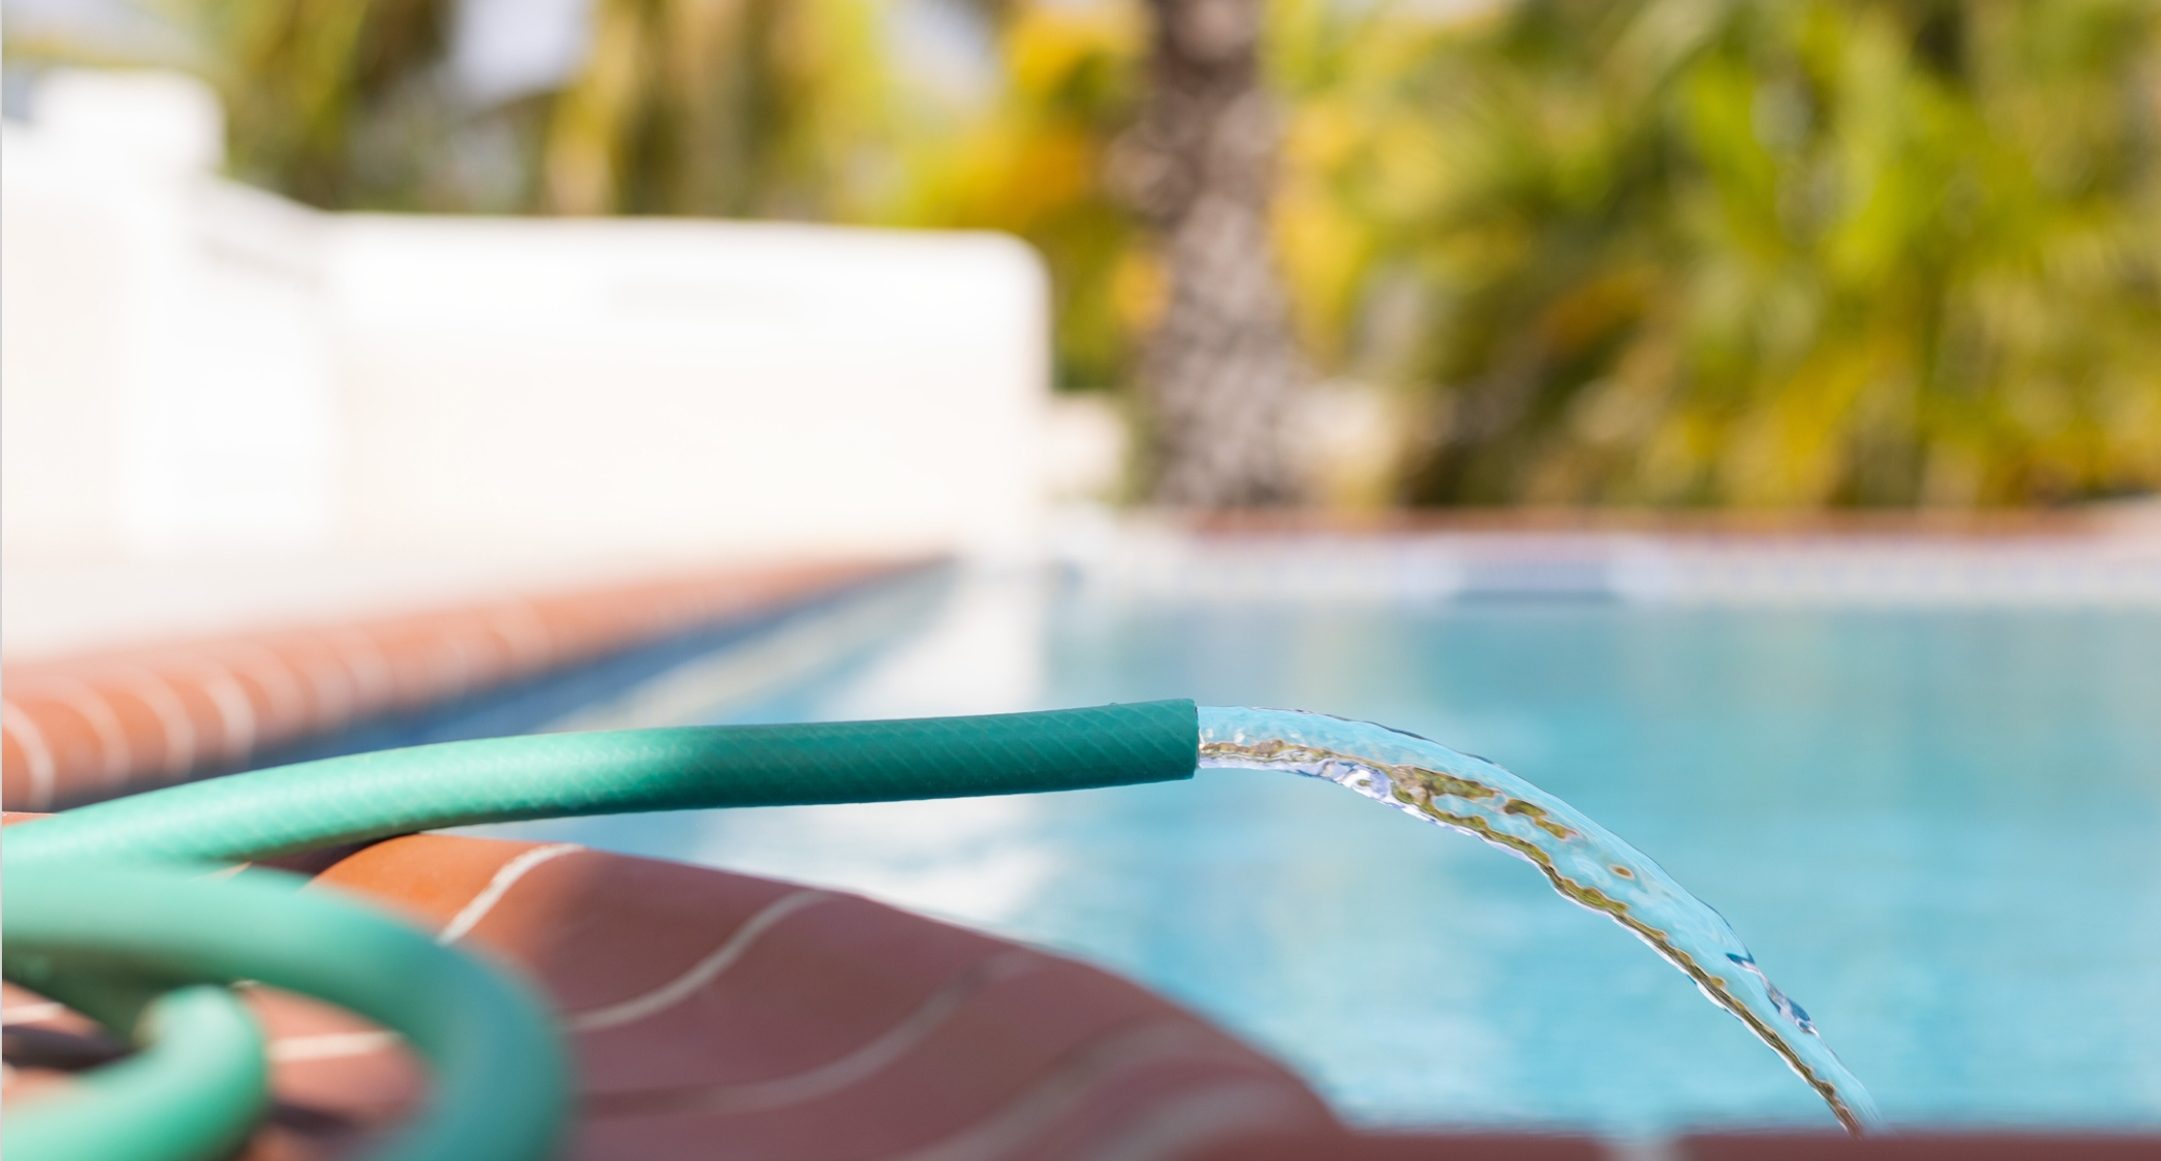
After ensuring your salt chlorine generator is installed correctly, add salt to your pool:

Once the salt has dissolved and the salt level is in the desired range:
While the saltwater pool reduces daily maintenance, regular monitoring is still required:
Read “How to Take Care of A Saltwater Pool” for detailed maintenance guidelines.
Comparing the swimming experience, a saltwater pool is generally better than a chlorine pool:

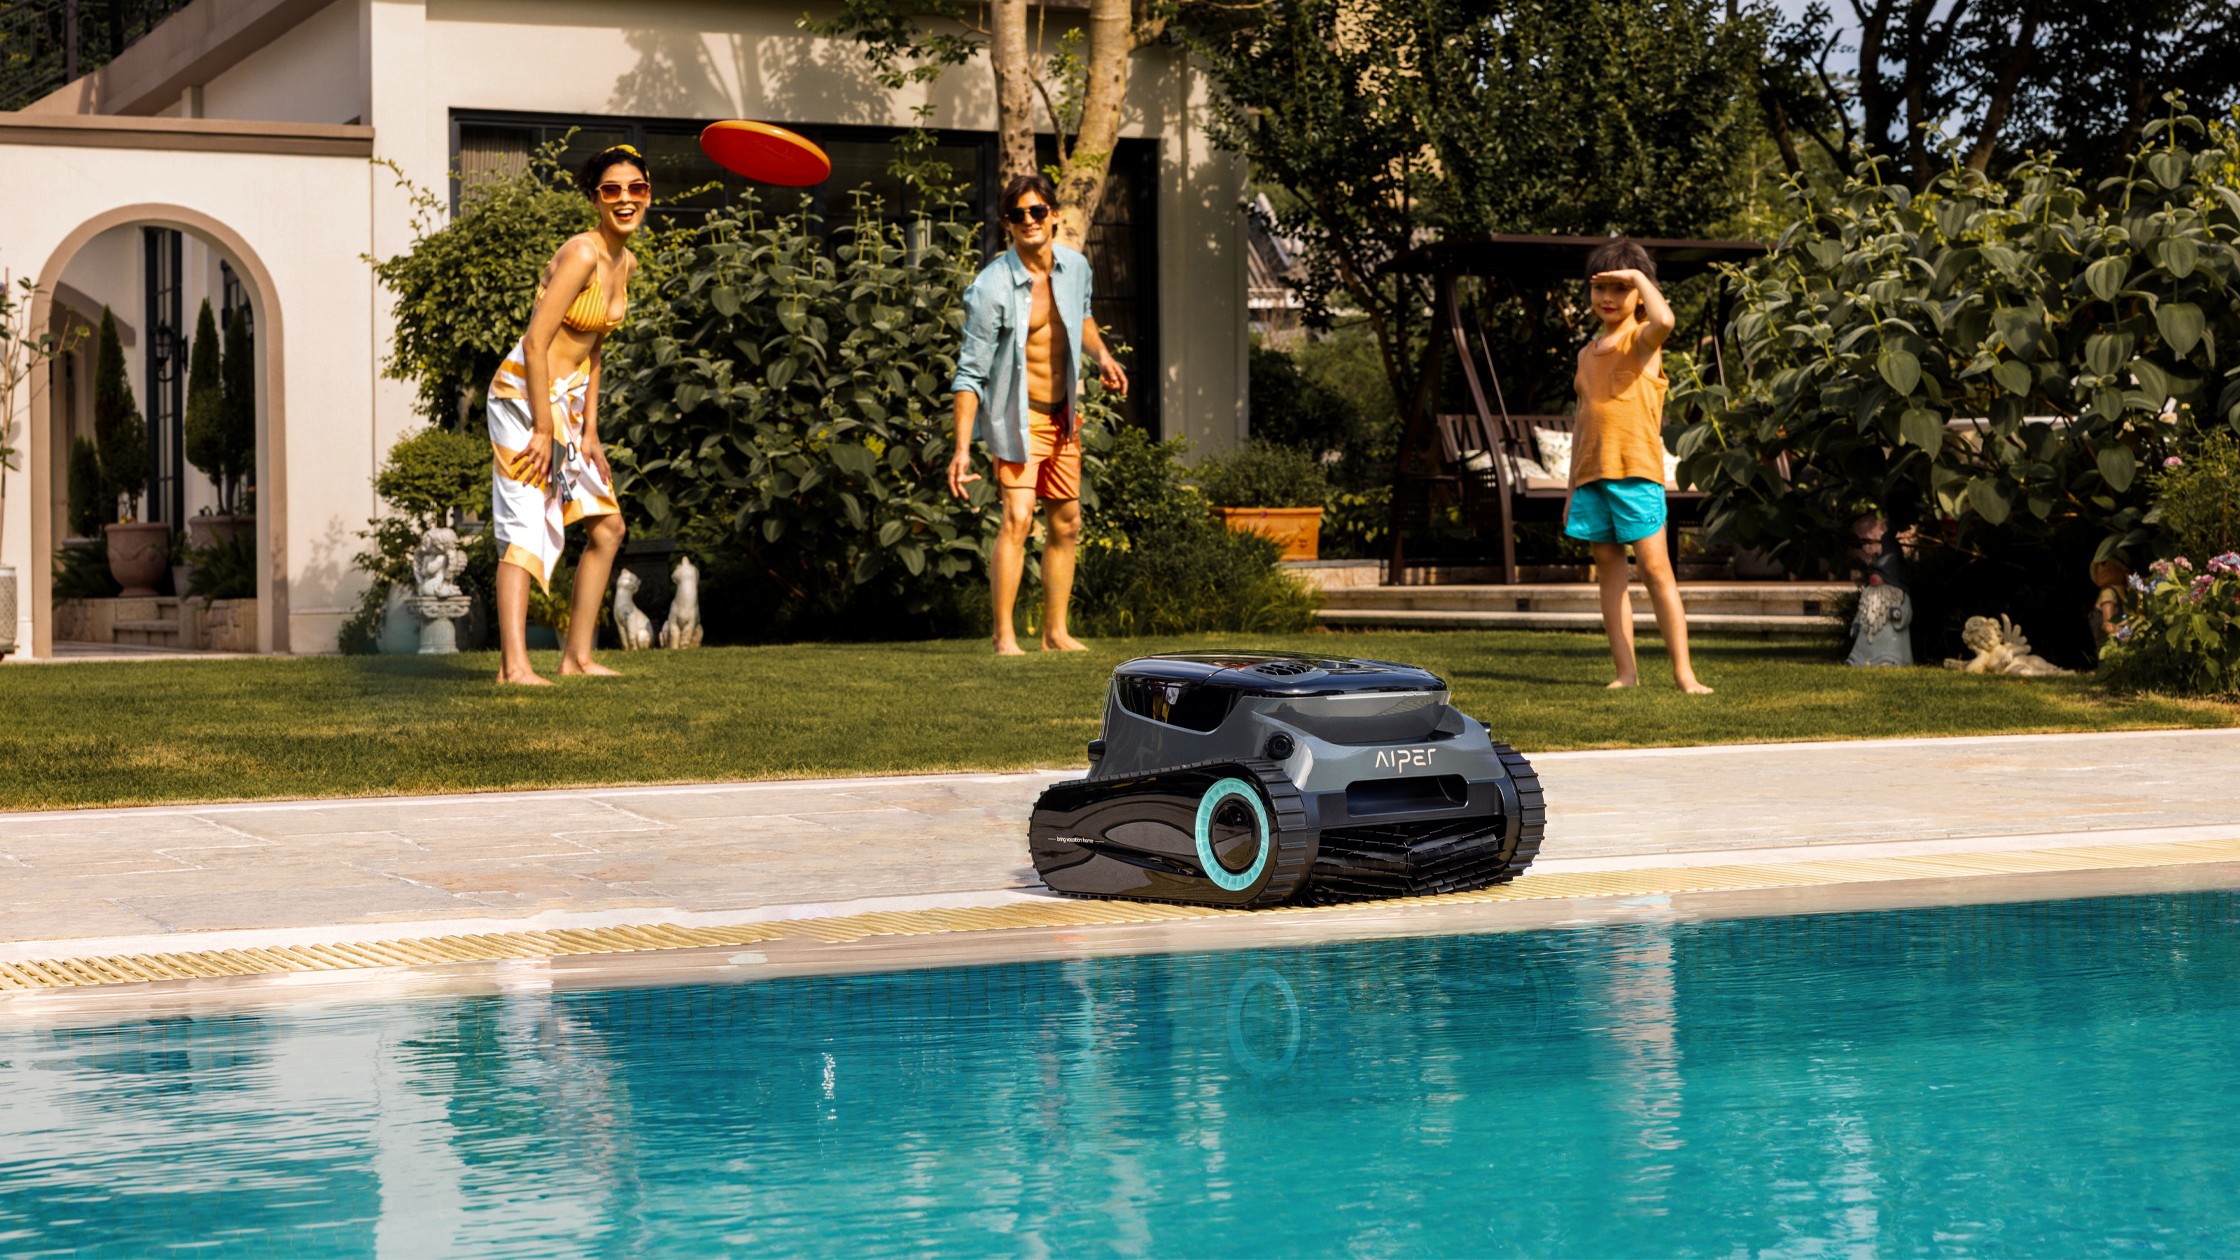
Experience satisfaction when using a saltwater pool. Modern technology, such as robotic pool cleaners, also plays a significant role in maintaining pool cleanliness.
Recommended reading: The Pros and Cons of a Saltwater Pool: Is It Right for You?; Salt Water Pool vs Chlorine Pool: Pros, Cons & Cost Comparison
Generally, saltwater pools are softer on the skin and more pleasant to swim in. It is possible to convert your chlorine pool into a saltwater pool at home with the right tools by following this easy step-by-step process.
Hard water havoc! Mineral buildup from hard water doesn’t just clog pool filters and pipes, slashing vital water circulation and filtration efficiency. It can also
Maintaining a sparkling-clean pool shouldn’t feel like a part-time job. At Aiper, we design robotic pool cleaners that blend cutting-edge technology with effortless usability—and our

Have you ever pondered whether pool water (salt or chlorine) could be detrimental to your backyard grass around the pool? Most pool owners have raised
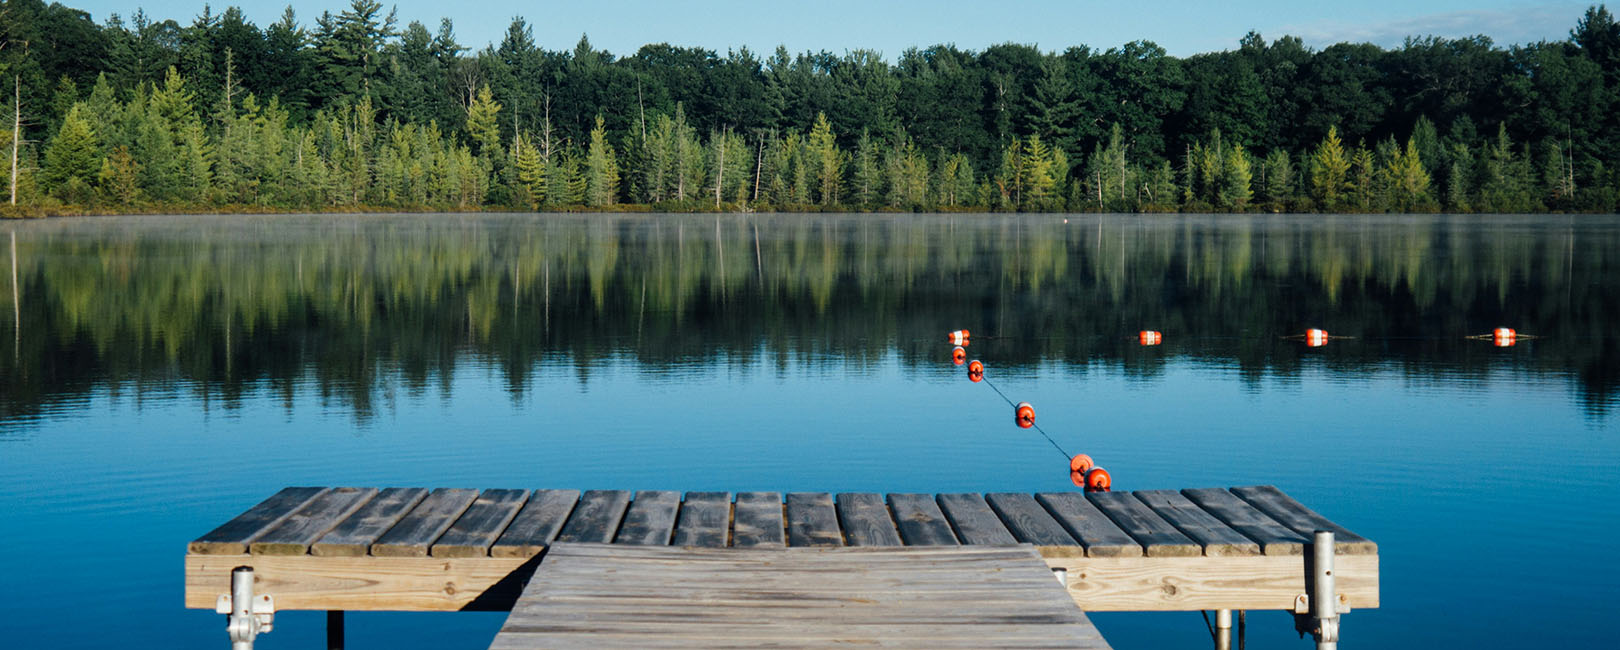
Envision warm summer afternoons; you’re standing by the peaceful edge of a lake. It is like water sparkling under flaming sunshine; there could be nothing
Yellow specks everywhere? That’s right – pollen season can start as early as February and continue through May. When this stubborn pollen settles in your